Backyard Stargazing and Astrophotography for Beginners: Smart Telescopes, Classic Scopes, and Cameras
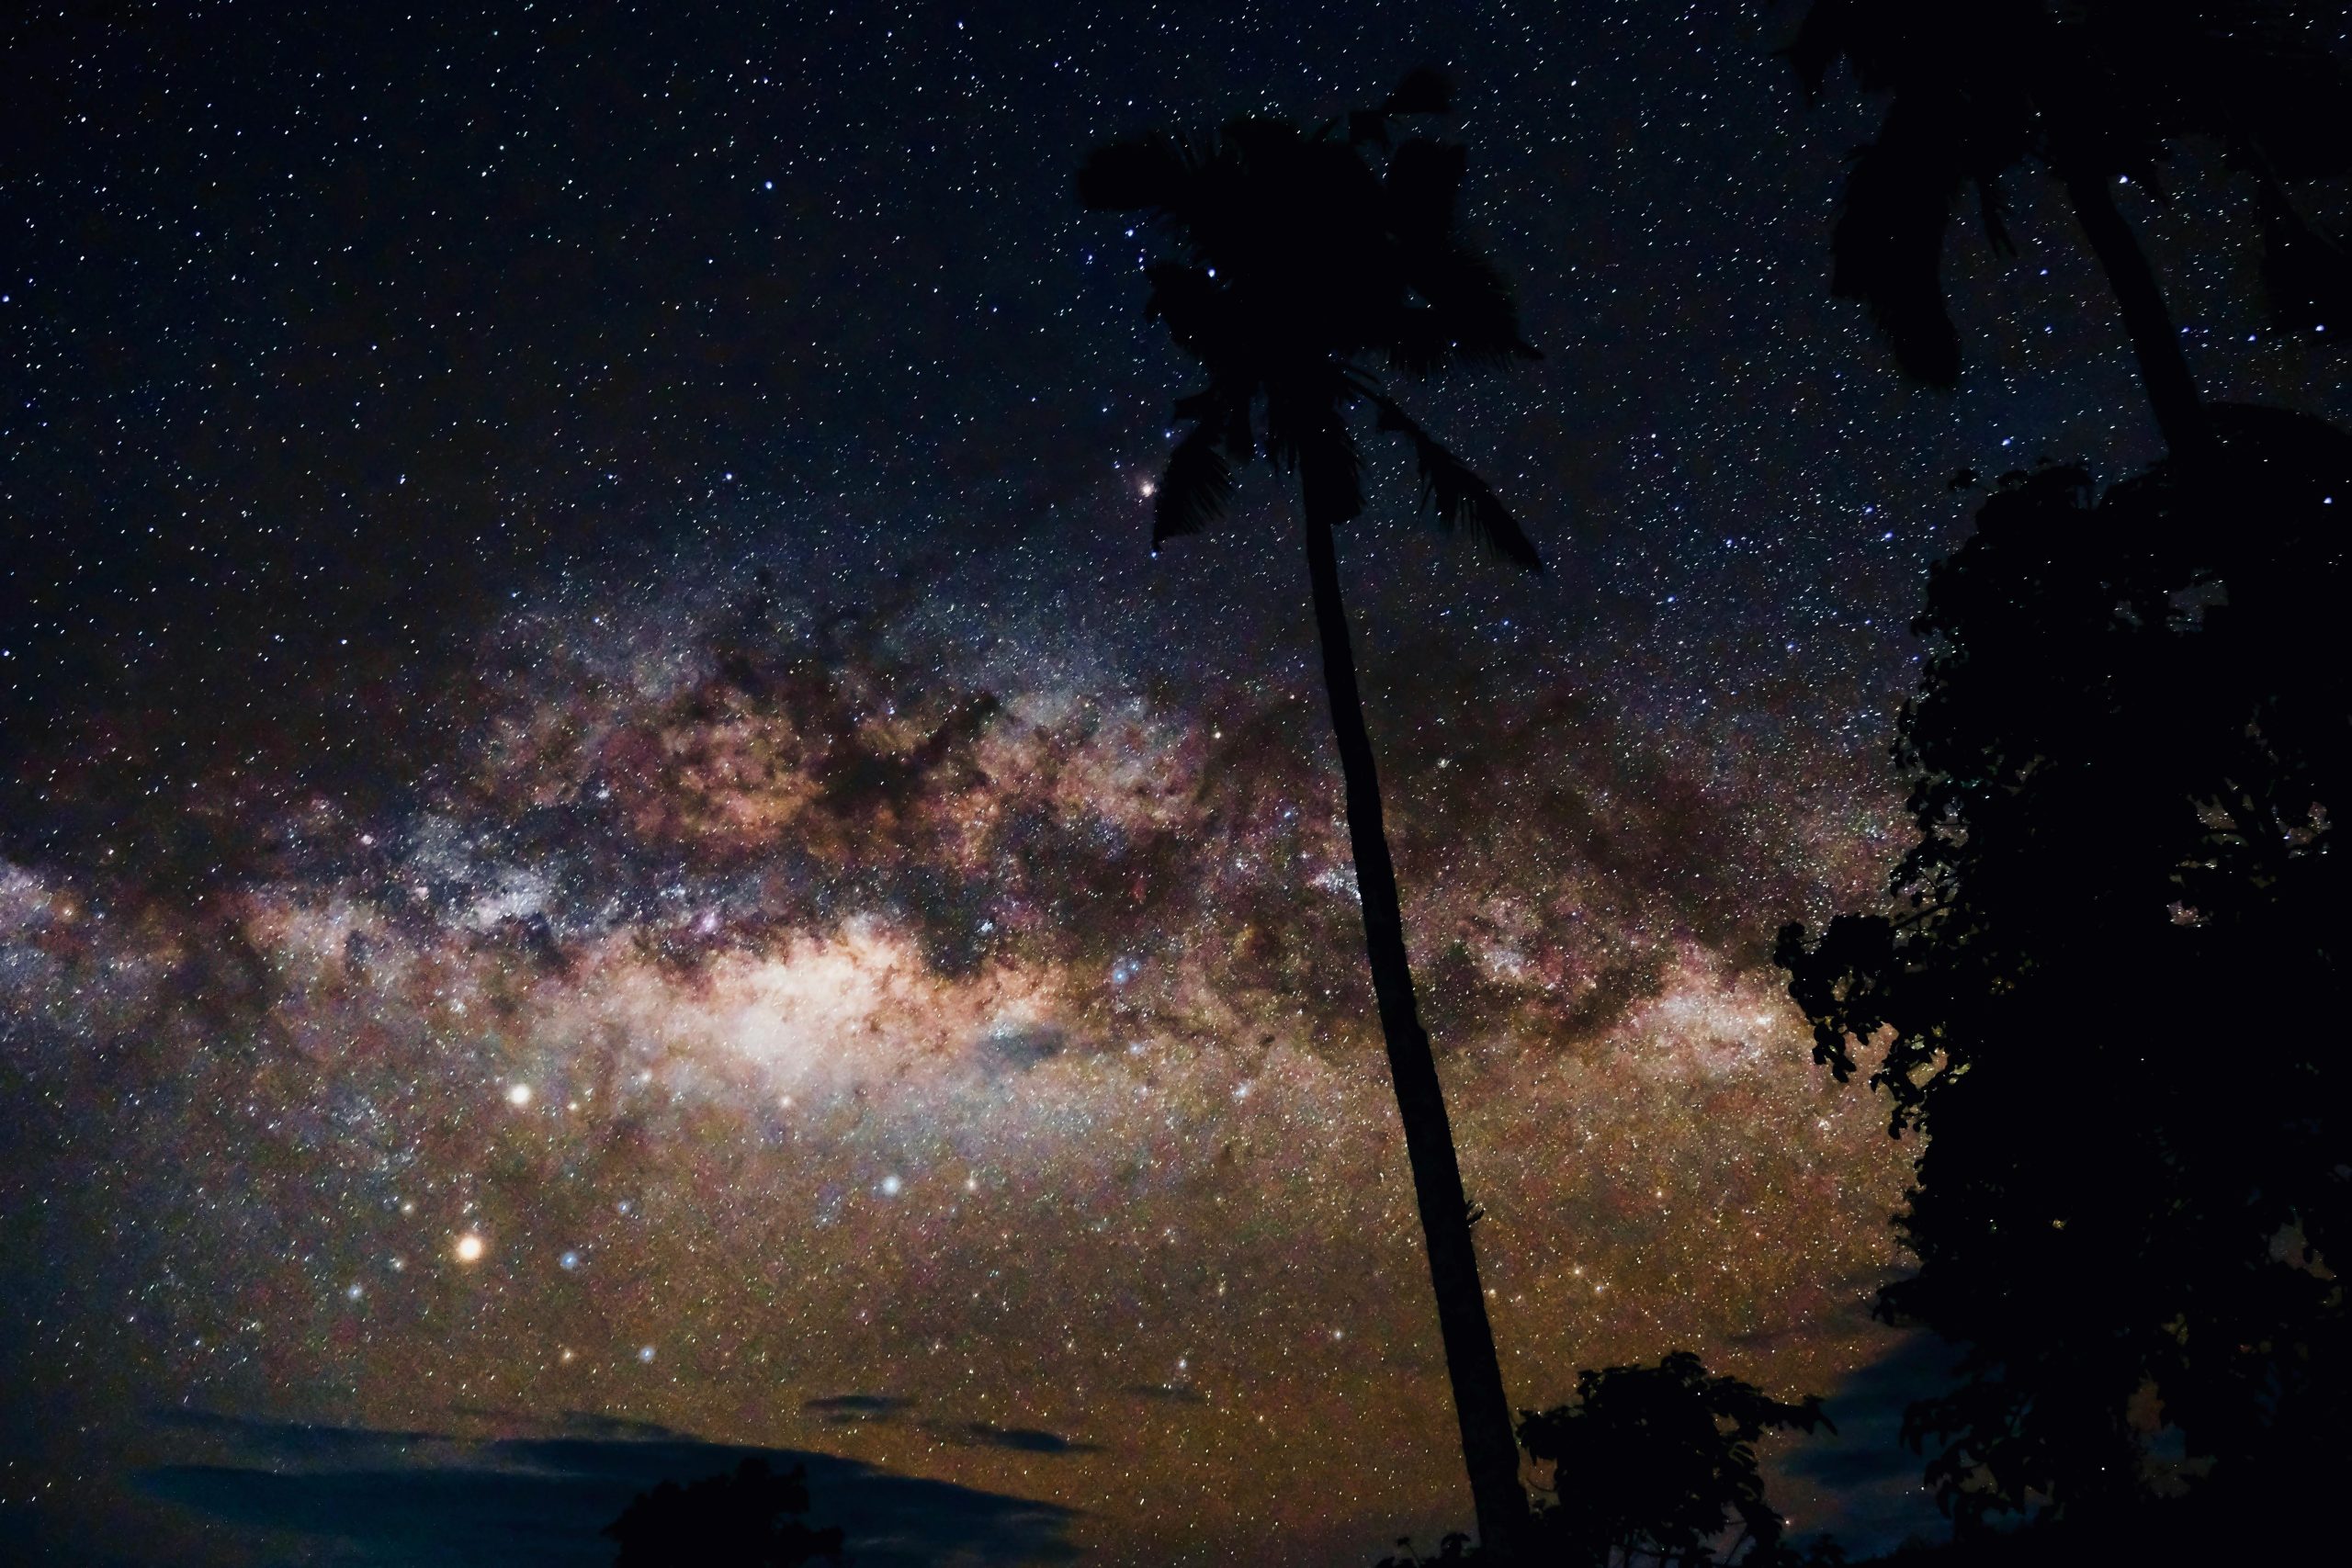
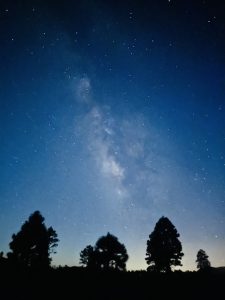
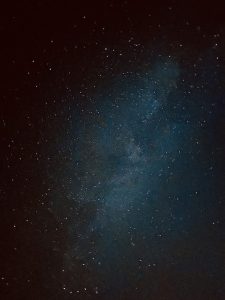
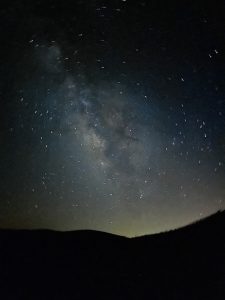
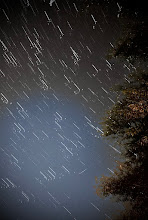
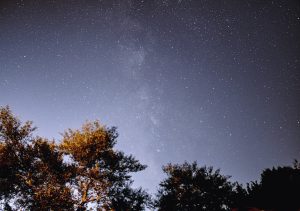
A few years ago, my husband and I took a trip to Sunset Crater National Monument near Flagstaff, Arizona. Under that dark desert sky, we saw the Milky Way for the first time — a glowing river of stars stretching overhead. It was breathtaking. That moment made me fall in love with astrophotography, and I dove straight into learning entry-level ways to capture the night sky.
Here are a few photos I took during that trip with just my iPhone and no tripod (remember I am not a photographer):
Back home in Ohio, the skies aren’t as dark or clear as Arizona, but there are still plenty of ways to make backyard stargazing fun and rewarding. Light pollution is a challenge, but with the right gear, you can enjoy beautiful views of the Moon, planets, star clusters, and even some deep-sky objects right from your own yard.
A few years ago, my mom surprised me with a Seestar S50 smart telescope as a gift. I’ve been using it like crazy ever since — it’s become one of my favorite hobbies. It’s genuinely fun and easy for just about anyone to use, even if you’ve never touched a telescope before.
Here are some of the beautiful deep-sky objects I’ve captured with the Seestar S50 from my backyard in Ohio:
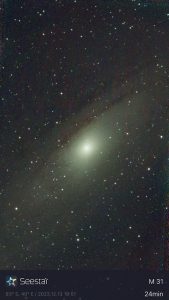
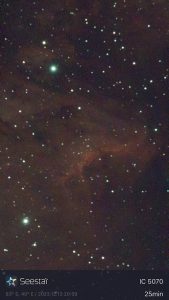
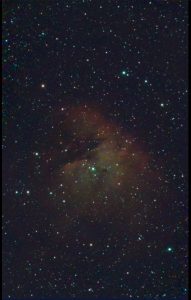
Seestar S50 Smart Telescope – The Easiest Entry into Astrophotography
The Seestar S50 is one of the best smart telescopes for beginners. This all-in-one device has a built-in camera, tracking mount, and app control. It automatically finds and tracks celestial objects, then captures high-quality images you can view and process right on your phone. No complex alignment or hours of setup required — perfect for busy nights when you just want to step outside and see results quickly.
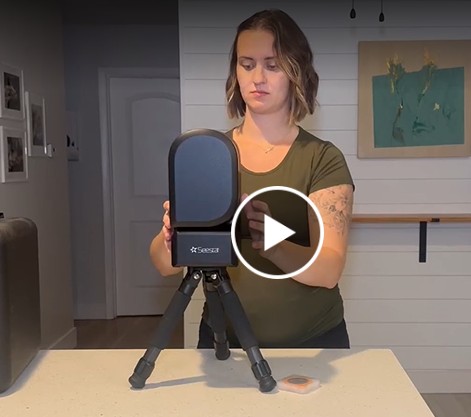
Recommended Seestar S50 Smart Telescope: ZWO Seestar S50 Astronomical All-in-One Smart Telescope
Click here to watch my short review video
Traditional Telescopes for Classic Backyard Viewing
For a more hands-on experience, these beginner-friendly telescopes work well for visual observing and basic photography.
Recommended Normal Telescopes:
- Gskyer 70mm Aperture 400mm AZ Mount Astronomical Refracting Telescope — Compact, portable, and includes a phone adapter. Great for getting clear views of the Moon and planets.
- Celestron StarSense Explorer LT 114AZ App-Enabled Telescope — Uses your smartphone for guided star-hopping, making it easier to find objects even with some light pollution.
Using a DSLR or Mirrorless Camera for Astrophotography (with Tripod)
If you already own (or want to add) a basic DSLR or mirrorless camera, you can get great results for wide-field astrophotography like the Milky Way or star trails. A sturdy tripod is essential to avoid blur during long exposures.
Recommended Beginner DSLR & Mirrorless Options:
- Canon EOS Rebel T7 DSLR Camera with 18-55mm Lens — Affordable entry-level DSLR that performs well in low light.
- Canon EOS R50 Mirrorless Camera with RF-S 18-45mm Lens — Lightweight mirrorless option with excellent high-ISO performance for night skies.
Quick Tips for DSLR/Mirrorless Astrophotography:
- Mount the camera on a sturdy tripod.
- Use a wide-angle lens (18-35mm range works great).
- Switch to manual mode and set the lens to infinity focus (or use live-view to focus on a bright star).
- Settings to start with: 15–30 second exposures, ISO 1600–3200, f/2.8 or wider aperture.
- Use a remote shutter release or the camera’s 2-second timer to prevent shake.
- Stack multiple short exposures in free software like DeepSkyStacker for cleaner images.
Taking Star Photos with Just Your iPhone
You don’t need fancy gear to start — your iPhone can capture surprisingly good night-sky shots!
iPhone Star Photography Tips & Settings:
- Use a tripod (or a stable surface like a table) — this is the #1 most important thing to avoid blurry photos during long exposures.
- Open the built-in Camera app → Night mode (automatically activates in low light). For better control, download a free or low-cost app.
- Recommended settings in Night mode: Tap the moon icon and extend exposure to the maximum (usually 1–30 seconds depending on your model and iOS version).
- Helpful apps:
- NightCap Camera (paid but excellent) — turns your iPhone into a serious astro camera with long-exposure modes and noise reduction.
- PhotoPills or Stellarium — great for planning what to shoot and when.
- SkySafari — helps locate stars, planets, and constellations in real time.
Pro tip: Enable Airplane Mode and turn off all lights (including your phone screen brightness) to preserve night vision and reduce light pollution in your shots.
Quick Tips for Backyard Stargazing in Ohio
- Set up in the darkest part of your yard, away from streetlights and house lights.
- Start with the Moon — it’s bright and forgiving even with moderate light pollution.
- Use a stable tripod or mount and a red-light flashlight to preserve your night vision.
- Apps like Stellarium or SkySafari help you plan what’s visible each night.
- On clearer nights, try stacking short exposures with the Seestar S50 to bring out more detail.
That magical night in Arizona sparked something special for me, and I’ve loved finding ways to recreate that wonder closer to home with my Seestar. Backyard stargazing and astrophotography are relaxing hobbies that remind us how amazing the night sky can be — even from Ohio.
What’s the first thing you’d love to photograph or observe? Share in the comments!
Affiliate Disclosure This post contains affiliate links. As an Amazon Associate and LTK creator, I earn from qualifying purchases at no extra cost to you. All opinions and recommendations are my own. Thank you for supporting my content!